> ## Documentation Index
> Fetch the complete documentation index at: https://docs.getcmd.dev/llms.txt
> Use this file to discover all available pages before exploring further.
# Installation
> Install and set up cmd for Xcode
## System Requirements
* **Operating System**: macOS
* **Xcode**: 16.x or 26.x
## Step 1: Install cmd
The easiest way to install cmd:
```bash theme={null}
brew install cmd
```
Alternatively, download the latest release:
1. Visit the [releases page](https://github.com/getcmd-dev/cmd/releases/latest)
2. Download the DMG file
3. Open the DMG and drag cmd to Applications
4. Launch cmd from Applications or Launchpad
cmd will automatically update, unless auto-updates are disabled.
## Step 2: Grant Permissions
cmd needs specific permissions to integrate with Xcode.
cmd needs accessibility permission to integrate with Xcode:
1. Launch cmd
2. When prompted, click "Open System Settings"
3. Enable cmd in [**Privacy & Security > Accessibility**](x-apple.systempreferences:com.apple.preference.security?Privacy_Accessibility)
4. Return to cmd
Without this permission, cmd cannot see your Xcode context or make edits.
cmd also needs Xcode extension permission:
1. When prompted, click "Open System Settings"
2. Enable cmd in [**Privacy & Security > Extensions > Xcode Source Editor**](x-apple.systempreferences:com.apple.ExtensionsPreferences?extensionPointIdentifier=com.apple.dt.Xcode.extension.source-editor)
3. **Restart Xcode** for the changes to take effect
You must restart Xcode after enabling the extension for it to work properly.
## Step 3: Configure AI Providers
cmd requires at least one AI provider to function. You'll configure this during the onboarding flow.
Select from supported providers like OpenAI, Anthropic, Google AI, or others
Provide your API key from the chosen provider
cmd will verify your configuration works
Choose which models you want to use
See the full guide for configuring AI providers and managing API keys
Your API keys are stored securely in macOS Keychain. cmd never sends your code to its own servers—only to your chosen AI provider.
## Step 4: Configure Xcode 26 (Optional)
If you're using Xcode 26, you can integrate cmd with Xcode's built-in AI chat interface.
In Xcode, go to **Xcode > Settings > Intelligence**
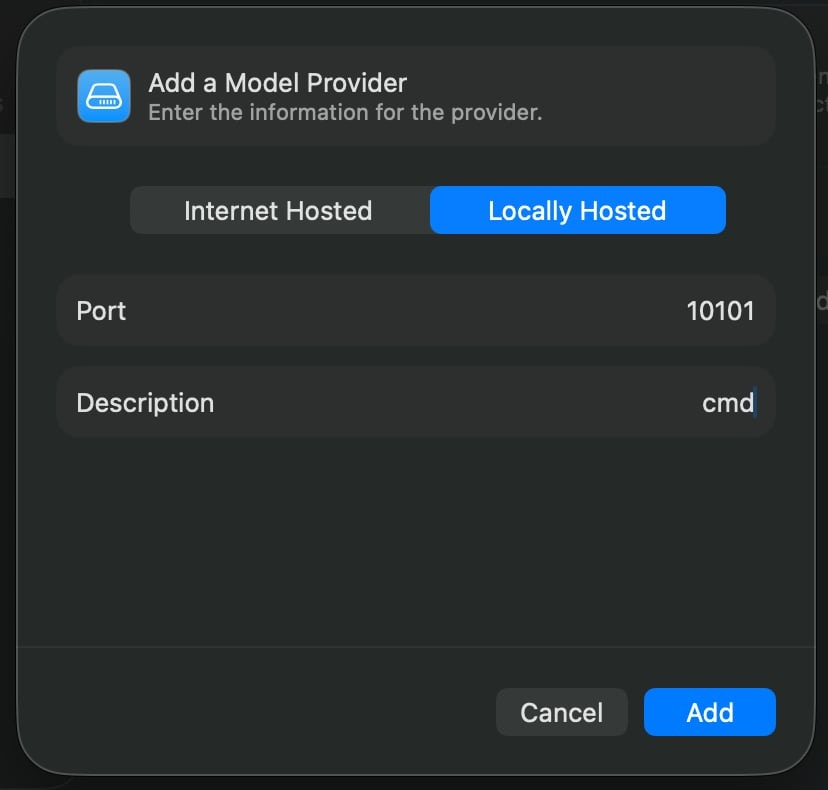
Click **"Add a Model Provider"**
Select a local model running on port **10101**:
 You can now interact with cmd through:
* **Xcode's AI chat**: Built into Xcode 26
* **cmd's sidebar**: The native cmd interface
You can now interact with cmd through:
* **Xcode's AI chat**: Built into Xcode 26
* **cmd's sidebar**: The native cmd interface
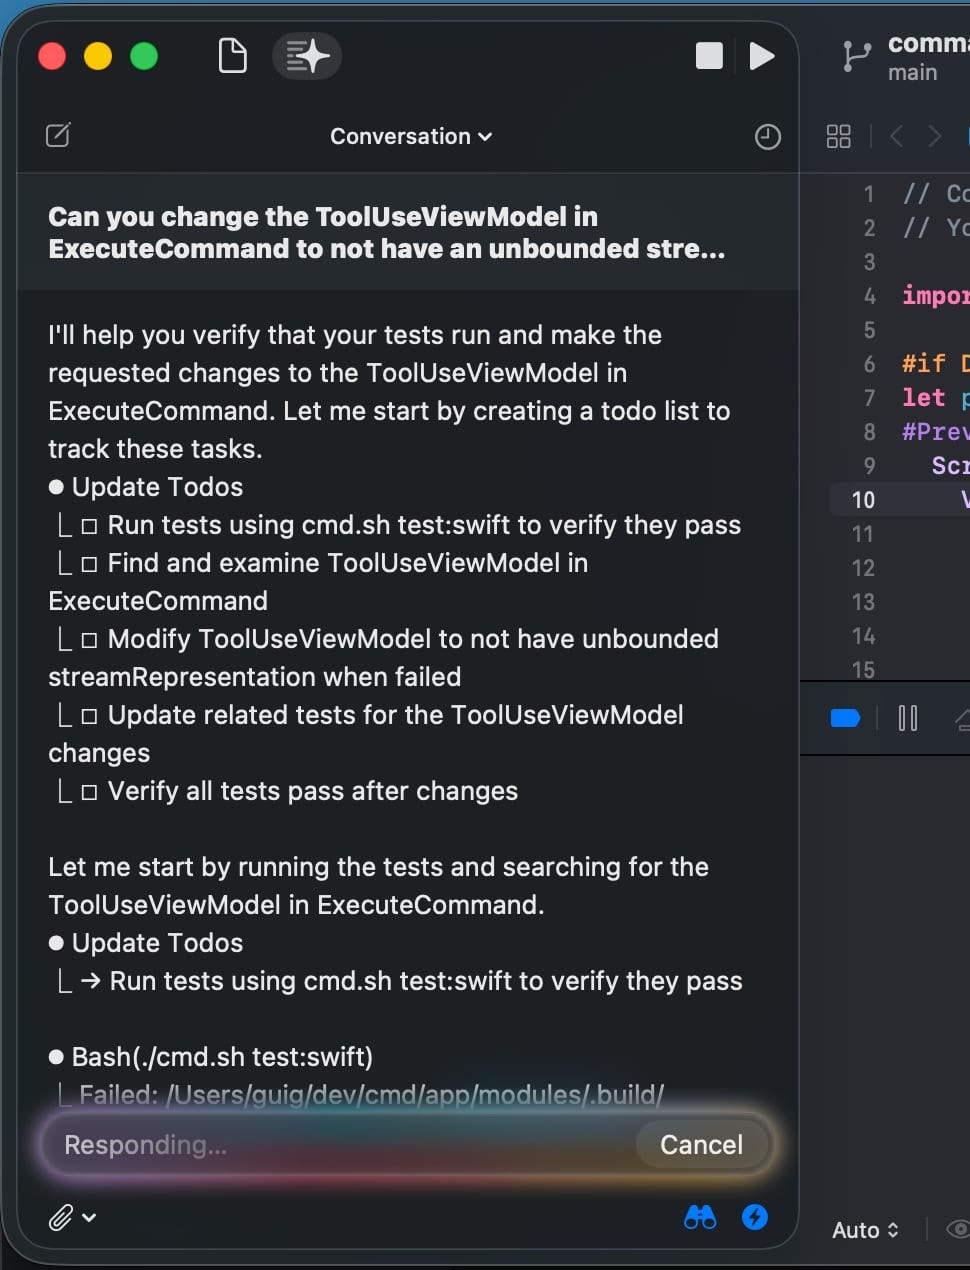 The Xcode 26 integration gives you flexibility to use whichever interface you prefer while benefiting from cmd's powerful agentic AI.
## Privacy & Security
**Your code stays on your machine**
* cmd runs entirely locally
* Your code is only sent to your chosen AI providers
* You can opt out of anonymized analytics
* API keys are stored in macOS Keychain
Learn more about cmd's open source philosophy and privacy approach
The Xcode 26 integration gives you flexibility to use whichever interface you prefer while benefiting from cmd's powerful agentic AI.
## Privacy & Security
**Your code stays on your machine**
* cmd runs entirely locally
* Your code is only sent to your chosen AI providers
* You can opt out of anonymized analytics
* API keys are stored in macOS Keychain
Learn more about cmd's open source philosophy and privacy approach